


(This post was originally published on Nov. 6, 2015, and has been updated to be even better!)
Videos can be a fantastic way to market your practice. Whether you’re thinking about creating a quick, snackable video for your social media followers or developing a longer video to introduce prospective clients to your practice, videos are great for entertaining and engaging your audience.
Sometimes, hiring a pro is the best solution, but there are times when it makes the most sense to shoot the video yourself – such as when you’re creating fun videos for social media. In those situations, believe it or not, you can get away with having just a smartphone and something interesting to film!
However, the quality of your video is still important. Higher-quality videos will attract more viewers, improve their viewing experience, encourage them to keep watching all the way to the end, and maybe even entice them to click on the next video! Luckily, even if you don’t have high-quality video equipment, a full studio, or a lot of time, there are some tricks you can use to shoot better-looking videos for your practice on your smartphone.
Tips for Shooting Better Video with a Smartphone
It’s all about lighting!
Lighting is important because it determines how appealing and professional your video looks. Quality lighting can mean the difference between looking like a home video and looking like a professional shoot. While you might not have light boxes or a fancy lighting ring, there are still tricks you can use to improve the lighting.
Whenever possible, avoid filming under artificial lighting, as it can decrease the quality of the image and make things look a little orange. The ideal locations to film are areas with natural light, or even better, outside! It’s also best to film on overcast days, because you get the benefit of the sun without having to deal with direct sunlight or harsh shadows.
When you can’t film outside, try to add as much light to the room as possible. Aim to film near large windows, and if that’s not an option, find an area that’s as brightly lit as possible. If you know you’re going to be filming indoors a lot, it might be worthwhile to invest in a lighting accessory for your smartphone.
You’ll also want to avoid filming subjects with light sources behind them. You’ll find that if the light source is directly behind the subject, you’ll get a halo effect where the subject is surrounded by bright light, but the figure and features are in shadow, like this:
Although there’s an artistic appeal to this aesthetic, the pup would look much nicer on film if the light source wasn’t directly behind her. Instead of placing your subject in front of the light, film them off to one side of the light source, or facing away from it completely.
Don’t neglect sound quality.
Second only to lighting, the sound of your video is crucial to the overall viewing experience. It’s also very difficult to improve, as your camera microphone can only do so much. If you’re planning on making lots of videos, you may want to consider investing in a professional microphone.
But if that simply isn’t in your budget, there are a few things you can try to get at least some improvement to the sound quality. If at all possible, have the person speaking stand close to the camera. Additionally, make sure to eliminate any background noise. In contrast with our lighting advice, it’s actually better to stand inside while recording audio, as there is less ambient noise. Try to record in areas that dampen sound and prevent echo.
Alternatively, you can try a cheap smartphone mic like this one, although the overall effectiveness of such a microphone may be questionable. And if none of those options appeal, you could always just mute the audio altogether and create a silent video.
Avoid zoom.
Zooming in on a subject can make your video more interesting, but it’s always a better idea to walk closer while holding the camera or to move your arms closer to the subject than it is to use the zoom feature. Because of the way smartphone cameras are built, they only have digital zoom – which can make the image look pixelated, and can make the video especially shaky. Create a zoom effect manually to keep your video quality high.
Always shoot in landscape.
This is something we see often – and I’m definitely guilty of doing it myself! Because we usually hold our phones upright while using them, it can be easy to forget that video always looks better when shot in landscape. Make a mental note, and next time you’re preparing to film something cute a patient is doing, remember to flip your phone on its side before hitting record!
Use the rule of thirds.
We’ve discussed the rule of thirds before as it applies to photography, but it’s also a trick you can use when filming video. The idea is that if an image is divided into thirds, the most interesting parts of the shot should happen where those thirds intersect. Rather than the center, our eyes are most naturally drawn to the thirds of the image. For example, in this image, the tennis ball is at one of the intersections and the dog’s face runs along one of the vertical lines:
The same is true in video. Rather than putting the subject of your video right in the center, it might be more visually interesting to put them off to the side. When aligning to the side, it’s a good idea to have the subject facing into the shot, rather than out of it. For example, if you have your subject placed on the left-hand side of the shot, have them face toward the right side of the shot to make the most of the field of view.
If you need a hand with alignment, check out the settings on your phone’s camera – they often have handy grids that will divide your screen into nine parts for easy visualization. And although it’s called the rule of thirds, consider it as more of a guideline. Sometimes having the subject in the center of your shot will be the best choice. It’s up to you to determine what looks most visually appealing.
Increase the stability.
The shakier the video is, the harder it is for your viewers to watch (and the more likely it is that they’ll get motion sickness)! If you find that your video is looking a little shaky, there’s a simple trick you can use to try and increase the overall stability: tuck your elbows into your sides and hold them there as you film. While it may feel more natural to stick your elbows out as you hold the camera, tucking them in helps to reduce the amount your arms shake.
Again, it’s worth having a look at your phone’s camera’s settings. Some will have a built-in stabilizer that can help keep things steady. However, if you still think the video is shaking too much, you can always try to…
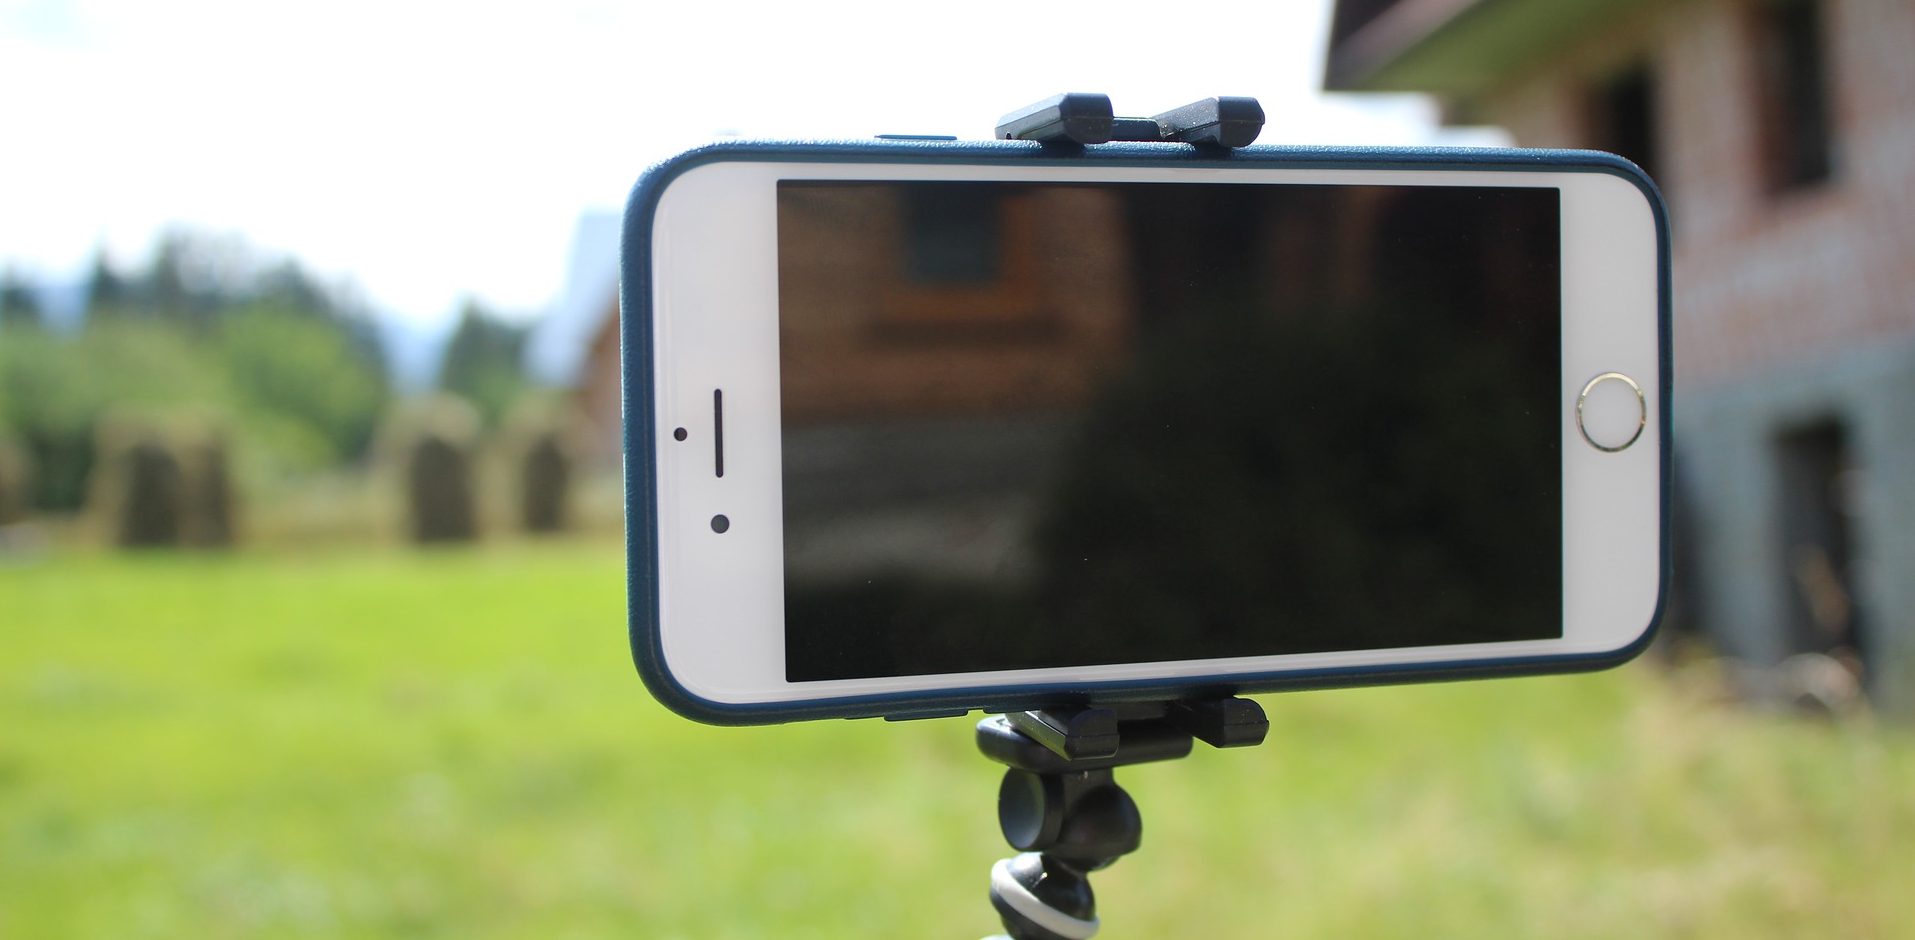
Use a tripod.
Unlike holding your elbows in, a tripod isn’t free, but it does produce very stable videos. The good news is, you can get a tripod for your smartphone for as little as ten dollars online! And if you’re feeling really thrifty, you can make your own using just a paper cup (this trick is only for the bravest of videographers – the safety of your phone is not guaranteed)!
Have fun with it!
It’s important to know what your smartphone’s camera is capable of to help you create your videos. For example, some Android phones and iPhones come with features that will let you film time lapse videos, which take a series of pictures and stitch them together into a fast-forward stop-action type of video, and even slow-motion videos. There are usually a few settings for different colors and filters too, so play around and see what you want to use for your video! But…
Avoid using transitions in your videos.
If you’re editing a video with more than one shot, avoid the temptation to add in some unusual transitions. As every person who has watched a cheesy PowerPoint presentation knows, the transitions don’t add to the quality of the video – they actually detract from it. So, even though YouTube offers several pretty fun-looking ones, steer clear of transitions and stick to clean cuts. Your viewers will thank you for it.You may not be a professional videographer with all the bells and whistles, but you can still improve the quality of your shots and film great videos straight from your smartphone with these simple tricks!
Ready to get started filming? Maybe live streaming is a good fit for your practice. Read about it on our veterinary blog!

